Danger Cards
/Sometimes I get to school and realize the plan I had for a class is not going to work. Or it will work but be boring for me teach and hence probably even more boring for my students to learn. This was the case a while ago in my IB Math Studies class. I was just going to have the students do some IB problems for practice. Normally I would tie a lesson like this to a review game, but I hadn't done so yet. Luckily I had a prep block and so I got to work.
I knew it would be a group style review game, something akin to Bazinga, a similar activity I hadn't seen until today when I started writing this blog post. Groups would complete a question and draw a card. I also wanted the game to have some treachery, strategy (beyond answering questions), and cross team interaction. What if the cards frequently did bad things? Danger Cards was born.

The first version pictured above definitely looks like it was schemed up during prep before class. Happily, I've tweaked the game through 4 or 5 iterations over the past couple months with various classes and the current version is solid.
I used Illustrator to design envelopes for the cards. With magnet tape they stick to my whiteboard.

And I designed a matching keynote presentation you can download and edit for your classes. I used off the beaten path fonts in this one, so the deck you download will probably look different than mine. You can just change the fonts to work with ones you have.

Set Up
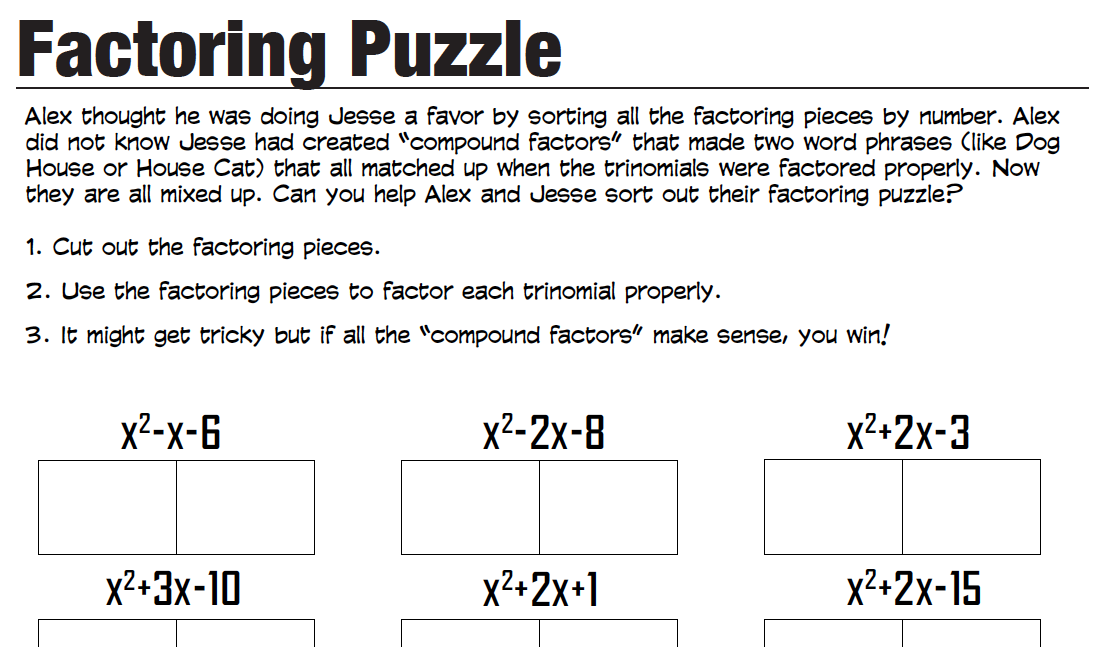
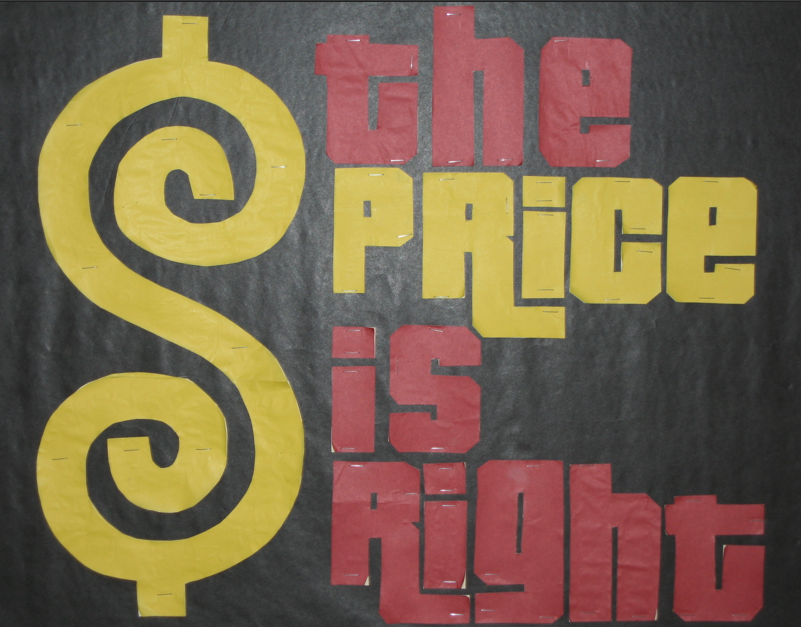
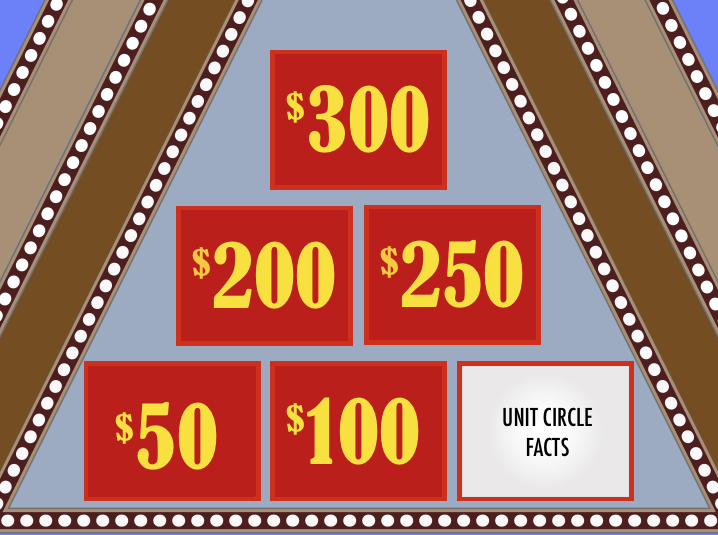
You will want to either make your own envelope decals or download the ones I created here. The labels are in PDF form but completely editable in Adobe Illustrator. Also download the Keynote linked above. Finally, you will want to create a set of index cards to put in the envelopes. You can use my current set pictured below or make your own. The Bazinga post I linked to has some great ideas for stuff to put on the cards as well.

Game Play
Here are the rules from the first slide of the presentation that I share with the kids, annotated with a bit of extra explanation.
- Work with your team to solve the problems on each slide.
- I try to make teams of 3 to encourage everyone to take an active role.
- Work in your notebooks and then put your final answers on the whiteboard.
- Everyone writes down the problems and solutions –again to encourage everyone to take an active role.
- Deliver your whiteboard to the answer box.
- The answer box is just a plastic bin that normally holds paper for recycling.
- Once all but one set of answers are in the answer box, the round is over and the last set of answers must be turned in.
- Not as hard and fast as it sounds, if a group is working hard, I'll give them leeway.
- Highest Score (by order turned in) chooses a card and views it.
- They need to be careful not to show their hand! This part of the game makes it really awesome because the kids come up with all sorts of ridiculous strategies to try to fool their classmates.
- Each team (clockwise) can choose to play or pass the card as well.
- Again lots of strategy because teams need to try to figure out if they actually want the card that was chosen, and if they have already seen the chosen card (or if another team has)
- Each team has one Z-Chip you can cash in to reverse any one decision i.e. to undo your «play or pass» decision or even «forfeit the card you chose»
- So basically once in the game a team can take back a decision they made. The team that chose the card can also take advantage of this, although the card still effects any team that chose to «play» it. The decision to play or pass a card must happen before the next question round begins.
Before we start the first round each team chooses a Danger Card and gets to «peek» at its contents before it is returned to the whiteboard.
The Cards
I think most of the cards are obvious but here are explanations of a couple of the tricky and unusual ones:
- Peek - Cards that say + Peek allow the team that chose the card to peek at another card of their choice at the end of the round.
- Treasure - Cards that say + Treasure allow the team that chose the card to grab a prize (usually food) from the Treasure Chest. The Treasure Chest is a, usually locked, wooden chest in my classroom. I brought it to school originally for a different (even more sinister) review game I'll talk about in a while, but lately I use it for many games. Kids love it when I open up the treasure chest for the first time.
- Steal Another Team's Points & Swap Points With Another Team - Both of these cards create kind of a mess to execute, but so far I have stuck with them. Basically, the cards resolve in reverse order. So the team that decided to «play» the card last makes the first choice as to whose points to steal, the team that selected the card would resolve last (usually a huge advantage)
Overall
My classes are universally fans of Danger Cards, if you give it a shot in your classroom I'd love to know how it goes.
I found the skull picture from a quick google image search from here